You’ve decided to take control of your crypto. No more leaving everything on an exchange. You’re ready for a DeFi wallet where you hold the keys. But here’s the reality: one wrong move during setup can lock you out of your funds forever or hand them straight to scammers.
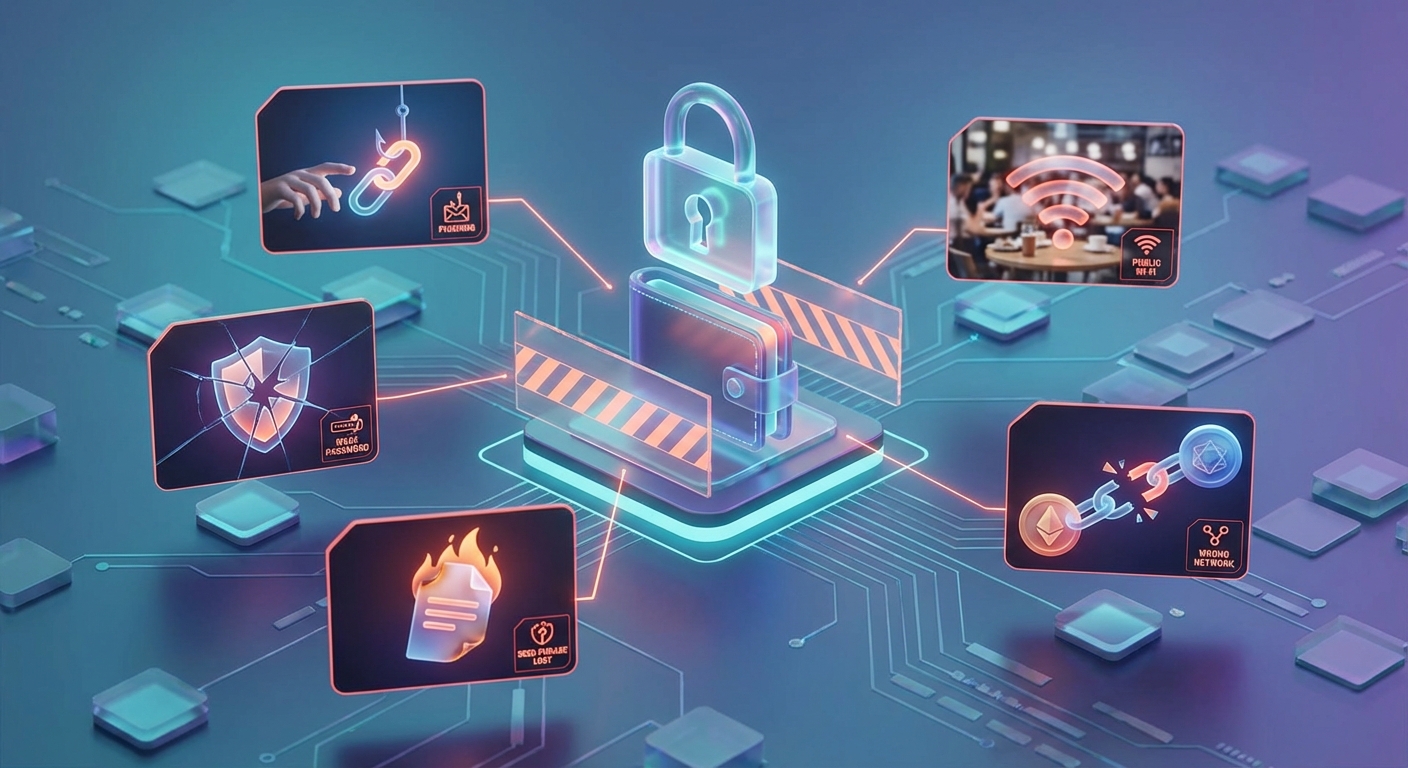
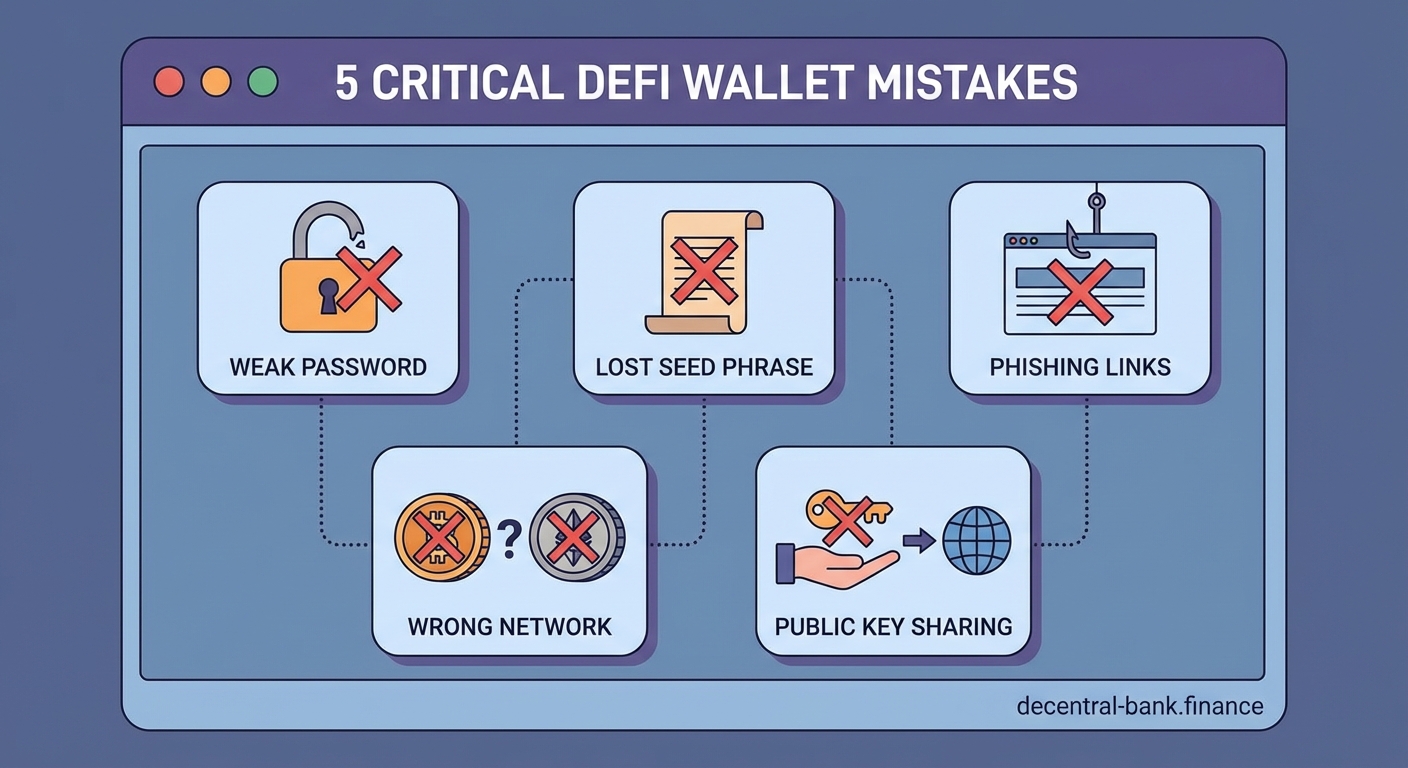
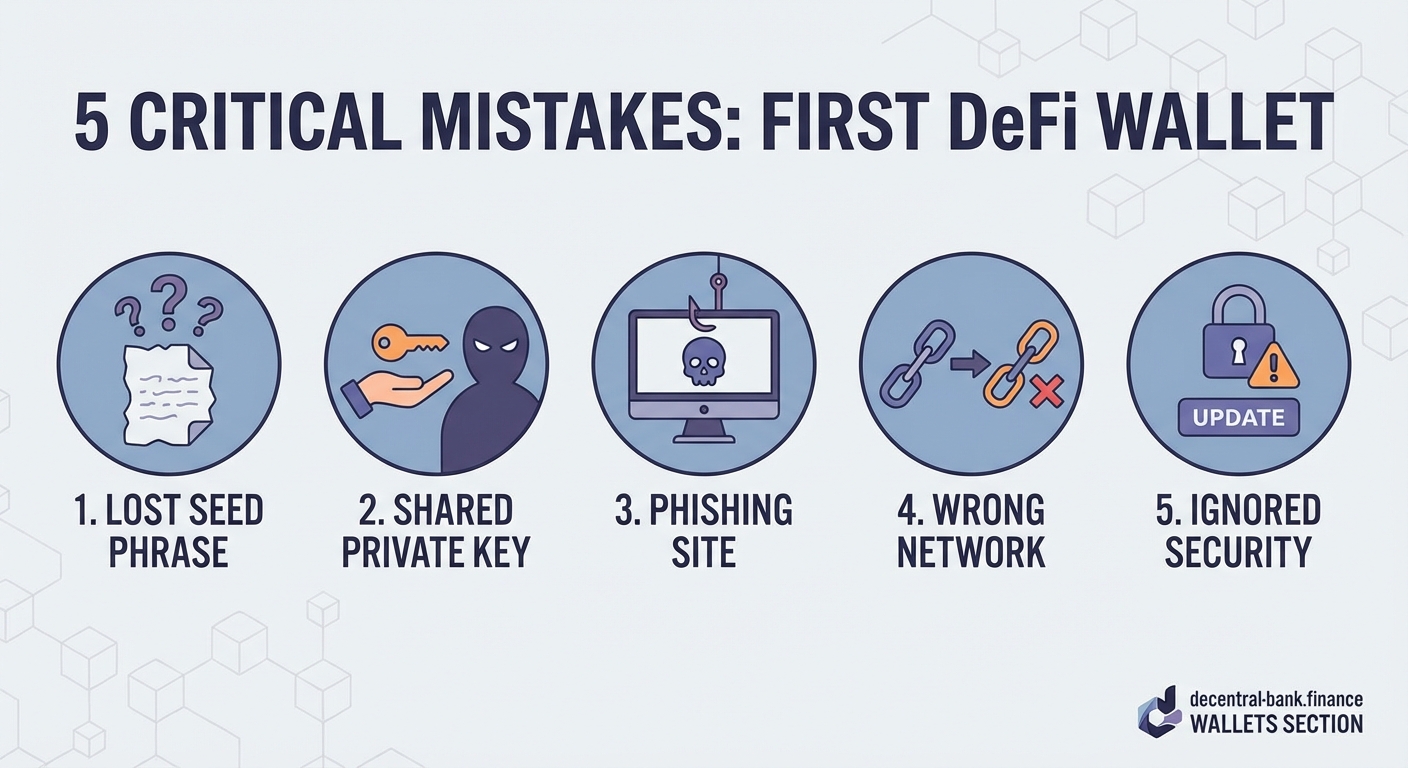
Setting up your first DeFi wallet requires careful attention to seed phrase security, network selection, and transaction verification. Most beginners lose funds by storing recovery phrases digitally, sending crypto to wrong networks, or skipping security features. Understanding these five critical mistakes before you start can save you from permanent loss and expensive recovery attempts.
Storing Your Seed Phrase Digitally
Your seed phrase is everything. It’s the master key to your wallet. Lose it, and you lose access. Someone else gets it, and they own your crypto.
Yet countless beginners make the same mistake: they screenshot it, email it to themselves, or save it in a notes app.
Here’s what happens next. Your phone gets hacked. Your cloud storage gets breached. Your email account gets compromised. Suddenly, someone in another country is emptying your wallet while you sleep.
Digital storage creates multiple attack vectors:
- Screenshots sync to cloud services automatically
- Notes apps backup to company servers
- Password managers can be targeted by keyloggers
- Text files sit unencrypted on your hard drive
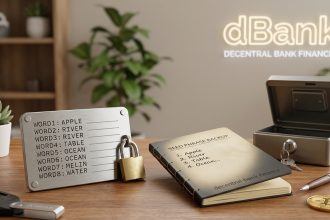
The only safe way to store your seed phrase is offline, on physical media. Write it on paper. Use a metal backup plate. Store it somewhere secure, like a safe or safety deposit box.
“The majority of crypto theft doesn’t come from sophisticated hacks. It comes from users storing their seed phrases in easily accessible digital locations.” – Security researcher at a major blockchain firm
Never type your seed phrase into any device except when recovering your wallet. Never take a photo. Never send it through any messaging app, even to yourself.
Skipping the Seed Phrase Verification Step
Most wallet apps ask you to verify your seed phrase right after generating it. You’ll see a screen asking you to select words in the correct order.
Many beginners skip this step or rush through it. They assume they wrote everything down correctly. They want to start using their wallet immediately.
This is dangerous.
If you wrote down even one word incorrectly, you won’t discover the problem until you need to recover your wallet. By then, your funds could be substantial. And you’ll have no way to access them.
Here’s how to verify properly:
- Write down all 12 or 24 words in order as they appear
- Complete the verification quiz in the app
- Delete the wallet completely from your device
- Restore it using only your written seed phrase
- Confirm everything works before sending any funds
Yes, this takes extra time. But it’s the only way to know with certainty that your backup works. Think of it like testing a fire extinguisher before you need it in an emergency.
The restore process also teaches you how recovery works. If you ever need to access your wallet from a new device, you’ll already know the steps.
Sending Crypto to the Wrong Network
This mistake costs beginners thousands of dollars every day. They buy tokens on one network and try to send them to a wallet address on a different network. The funds disappear into the void.
Here’s a common scenario: You buy USDC on Ethereum. Your wallet supports multiple networks. You copy your wallet address while viewing the Polygon network. You paste that address into the exchange withdrawal form. The exchange sends USDC on Ethereum to your Polygon address.
The transaction succeeds. But you never see the funds in your wallet.
Different blockchains use different address formats and protocols. Understanding how does DeFi actually work without banks or middlemen helps clarify why network compatibility matters so much.
| Network | Address Format | Compatible With |
|---|---|---|
| Ethereum | 0x… (42 characters) | All EVM chains |
| Bitcoin | Varies (bc1…, 1…, 3…) | Bitcoin only |
| Solana | Base58 (32-44 characters) | Solana only |
| Polygon | 0x… (42 characters) | EVM chains only |
Before every transaction, verify three things:
- The network you’re sending from
- The network your wallet is set to receive on
- That both networks match exactly
Most modern wallets display the active network prominently at the top of the screen. Check it before copying your address. Check it again before confirming the transaction.
Some tokens exist on multiple networks. USDC lives on Ethereum, Polygon, Arbitrum, and others. Make sure you’re using the same network on both ends.
Ignoring Transaction Simulation and Approval Limits
When you connect your wallet to a DeFi protocol, you’re often asked to approve token spending. This gives the protocol permission to move tokens from your wallet.
Beginners typically click approve without reading what they’re authorizing. They don’t realize they’re often granting unlimited access to their entire token balance.
Modern wallets offer transaction simulation. This feature shows you exactly what will happen before you sign. It displays:
- Which tokens will leave your wallet
- How many tokens you’re approving for spending
- What the transaction will actually do
- Warning signs if something looks suspicious
Always read these simulations. If you’re swapping 100 USDC for ETH, the simulation should show 100 USDC leaving and approximately the right amount of ETH arriving.
If you see “Approve unlimited USDC,” change it to the specific amount you need. There’s no reason to give a protocol access to your entire balance when you’re only swapping a portion.
Some protocols require two transactions: one approval and one execution. This is normal. But if you’re asked to sign multiple approvals for the same token, something might be wrong.
When learning how to provide liquidity on Uniswap without losing money, you’ll encounter approval requests. Start with small amounts until you understand the process.
Using Public WiFi Without Protection
Your wallet connects to blockchain networks through the internet. Every transaction broadcasts through whatever network you’re using.
Public WiFi at coffee shops, airports, and hotels is notoriously insecure. Other users on the same network can potentially intercept your data. Malicious actors set up fake hotspots that look legitimate but capture all traffic passing through them.
When you sign transactions on public WiFi, you’re exposing sensitive information:
- Your wallet address
- The protocols you interact with
- Your transaction patterns
- Potentially your device identifiers
Use these protection methods:
- Always use a VPN when accessing your wallet on public networks
- Consider using mobile data instead of public WiFi for transactions
- Never set up a new wallet while on public WiFi
- Avoid entering seed phrases on any device connected to shared networks
Your home network is safer but not immune to attacks. Change your router’s default password. Enable WPA3 encryption if available. Keep your router firmware updated.
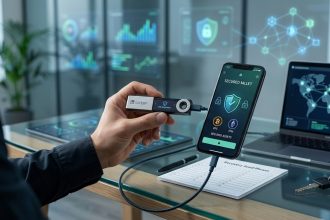
Some wallets offer additional security features like biometric authentication or hardware wallet integration. Knowing how to choose between hot wallets and cold wallets for your crypto helps you pick the right security level for your needs.
Understanding What You’re Actually Signing
Every DeFi interaction requires signing a transaction or message. Your wallet presents something that looks technical and confusing. Most beginners just click sign without understanding what they’re authorizing.
This is how people get drained. Scammers create malicious smart contracts that look like legitimate DeFi protocols. They trick users into signing transactions that transfer all their tokens away.
The signature request might say “Sign this message to verify ownership” when it’s actually approving a token transfer. Or it might claim you’re minting an NFT when you’re really giving away wallet permissions.
Learn to recognize legitimate signature requests:
- Token swaps show the tokens and amounts involved
- Protocol interactions display the contract you’re calling
- Message signatures for login should never request token access
- Legitimate projects never ask you to sign blind transactions
If you can’t understand what a signature does, don’t sign it. Research the protocol first. Check their official documentation. Verify you’re on the correct website.
Phishing sites copy the exact design of real DeFi platforms. They change one letter in the URL. They buy similar domain names. Always bookmark the official sites of protocols you use regularly.
Learning how to spot a rug pull before you lose your crypto includes recognizing suspicious signature requests and contract interactions.
Testing With Small Amounts First
You’ve set up your wallet correctly. You’ve secured your seed phrase. You understand networks and approvals. Now you’re ready to move your entire crypto portfolio into self custody.
Not so fast.
Always test with a small amount first. Send $10 worth of tokens before you send $10,000. Make sure everything works as expected.
This test transaction confirms:
- You can send to your wallet successfully
- You can see the transaction in your wallet
- You understand how to check transaction status
- The network you’re using actually works
- Your wallet interface makes sense to you
Once the test succeeds, wait a bit. Check that the funds are truly in your control. Try making a small swap on a DeFi protocol. Send a tiny amount back to an exchange.
Only after you’re comfortable with every step should you move significant funds.
This approach costs a few extra dollars in transaction fees. But it prevents catastrophic mistakes. You might discover your wallet doesn’t support the token you want to store. Or you might realize you need to add a specific network first.
Testing also familiarizes you with gas fees and transaction times. You’ll learn how much transactions typically cost. You’ll understand how long confirmations take. This knowledge prevents panic when you later make larger transactions.
When you’re ready to interact with more complex protocols, understanding how to start staking crypto with a complete beginner’s walkthrough can help you navigate those processes safely.
Neglecting to Research Wallet Reputation
Not all wallets are created equal. Some are open source and battle tested. Others are closed source projects from unknown developers. Some have been around for years. Others launched last month.
Beginners often choose wallets based on appealing design or promises of extra features. They don’t research who built the wallet or whether it has a security track record.
A malicious wallet can:
- Store your seed phrase on their servers
- Inject hidden approvals into your transactions
- Display fake balances while stealing your funds
- Disappear overnight with no way to recover your assets
Before trusting a wallet with your crypto, verify:
- The development team is public and reputable
- The code is open source and audited
- The wallet has been around for at least a year
- It has active community support and regular updates
- No major security incidents have occurred
- It’s recommended by trusted sources in the crypto community
Popular doesn’t always mean safe, but established wallets with large user bases have more to lose from security failures. They also receive more scrutiny from security researchers.
Read recent reviews. Check the project’s GitHub activity. Look for security audits from reputable firms. Join community forums and see what experienced users recommend.
Some wallets specialize in specific use cases. Identifying utility tokens vs security tokens before investing might influence which wallet features you need.
Forgetting About Gas Fee Management
Gas fees power blockchain networks. Every transaction costs gas. The amount varies based on network congestion and transaction complexity.
New wallet users often get stuck because they didn’t account for gas fees. Common scenarios:
- You send all your ETH to buy tokens, leaving nothing for gas to move those tokens later
- You receive tokens on a network but don’t have the native token to pay gas
- You try to make a transaction during peak hours and can’t afford the inflated fees
Always keep native tokens in your wallet for gas:
- ETH for Ethereum and Layer 2 networks
- MATIC for Polygon
- BNB for BNB Chain
- AVAX for Avalanche
The amount depends on your activity level. For occasional transactions, $20 to $50 worth of the native token is usually sufficient. Active traders need more.
Gas fees fluctuate throughout the day. Ethereum fees spike during US business hours and drop on weekends. You can save significantly by timing your transactions.
Some wallets show estimated gas fees before you confirm. Pay attention to these estimates. If a simple swap costs $100 in gas, wait for a better time or use a different network.
Understanding gas becomes especially important when learning how to borrow crypto without selling your assets or interacting with complex DeFi protocols that require multiple transactions.
Missing Wallet Backup Beyond Seed Phrases
Your seed phrase recovers your wallet addresses and private keys. But it doesn’t restore everything.
Modern wallets store additional information locally:
- Custom token additions
- Address book entries
- Transaction history and notes
- Custom network configurations
- DApp connection permissions
If you restore your wallet on a new device using only your seed phrase, you’ll regain access to your funds. But you’ll lose all that supplementary data.
This isn’t critical for security, but it affects usability. You might forget which custom tokens you added. You’ll need to reconnect to all your favorite DApps. Your transaction history will show only basic blockchain data.
Some wallets offer encrypted cloud backup for this supplementary data. If you enable this feature, make sure you understand:
- What information gets backed up
- Where it’s stored
- Who can access it
- How it’s encrypted
The seed phrase backup remains your primary security measure. These additional backups are convenience features. Never rely on them as your only backup method.
Document your wallet setup somewhere secure. List the networks you use, the tokens you hold, and the protocols you interact with regularly. This documentation helps you reconstruct your setup if needed.
Your Wallet Is Your Responsibility Now
Moving from exchanges to self custody means you’re the bank now. No customer support can reset your password. No company can reverse your transactions. No insurance covers your mistakes.
This responsibility feels heavy at first. But it’s also empowering. Your crypto truly belongs to you. No one can freeze your account. No platform can restrict your access. You participate in DeFi on your own terms.
Start small. Make mistakes with amounts you can afford to lose. Learn from each transaction. Build your confidence gradually. The skills you develop now will serve you throughout your crypto journey.
Take your time with setup. Double check everything. Test thoroughly. Ask questions in community forums when you’re unsure. The extra caution today prevents irreversible losses tomorrow.